Best Selling Fabric Pots
-
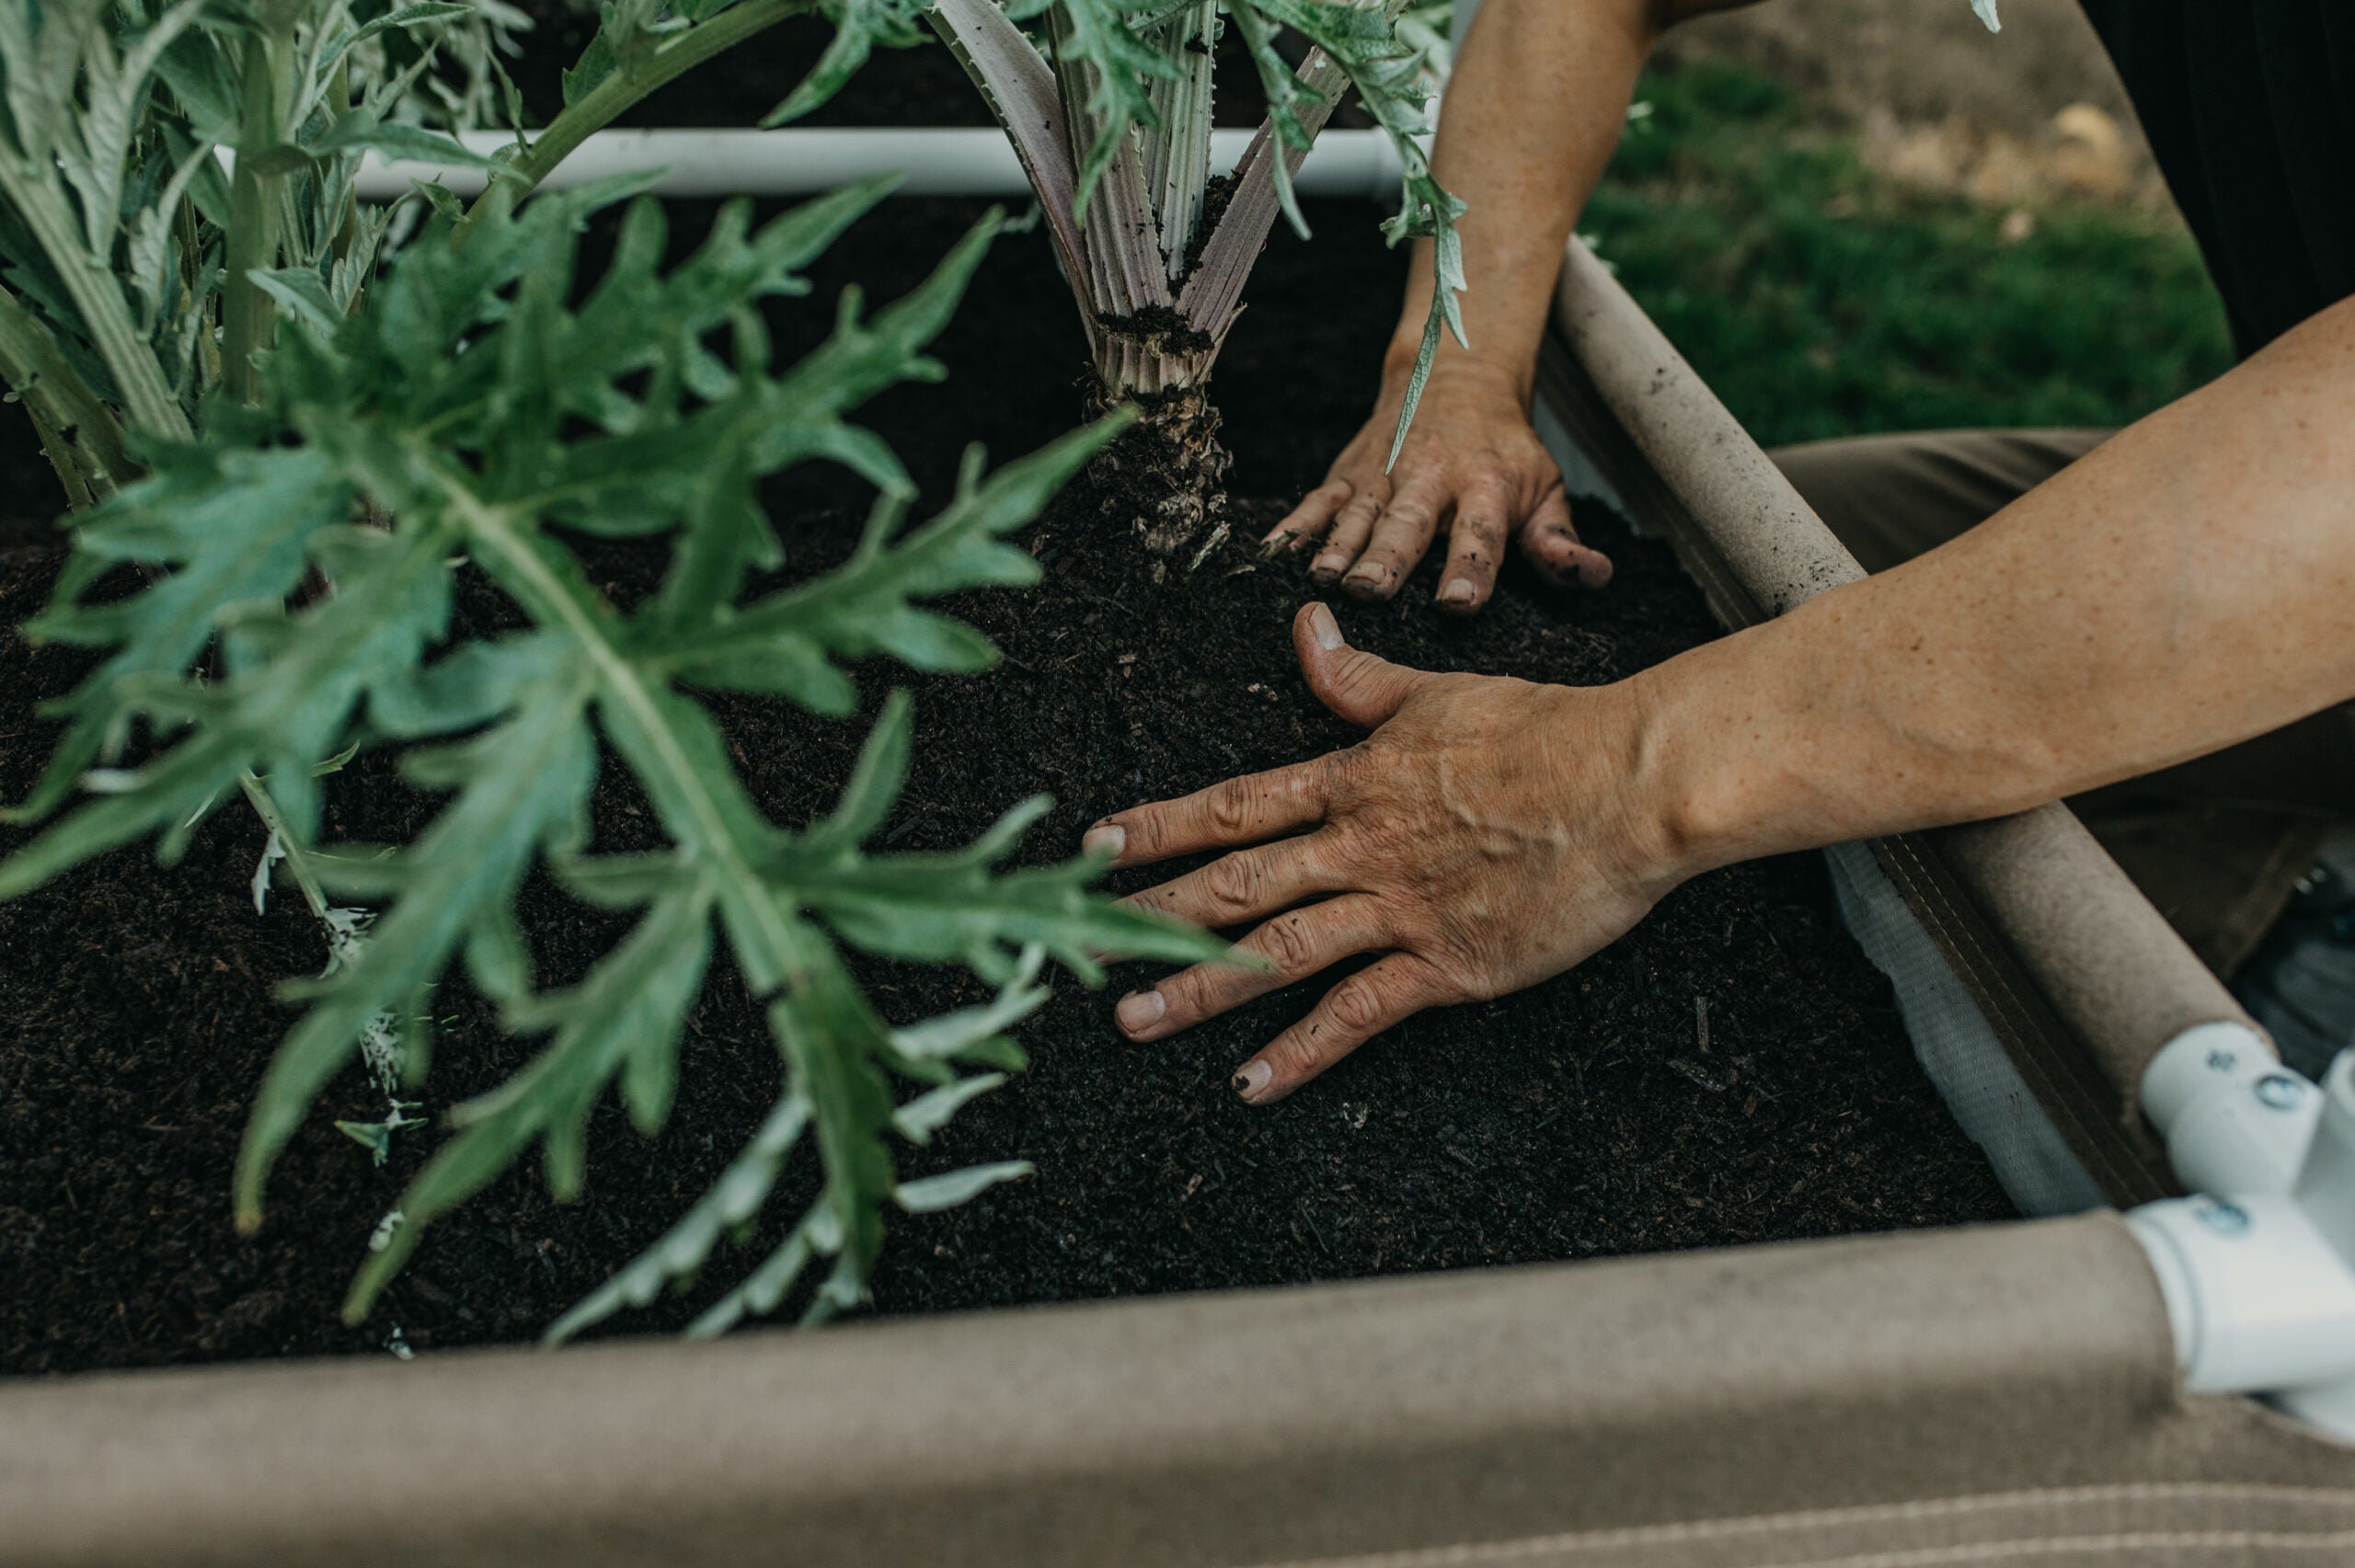
Living Soil Fabric Pot
Regular price From $5.55 USDRegular price -
AutoPot XXL with Handles
Regular price $15.00 USDRegular price -
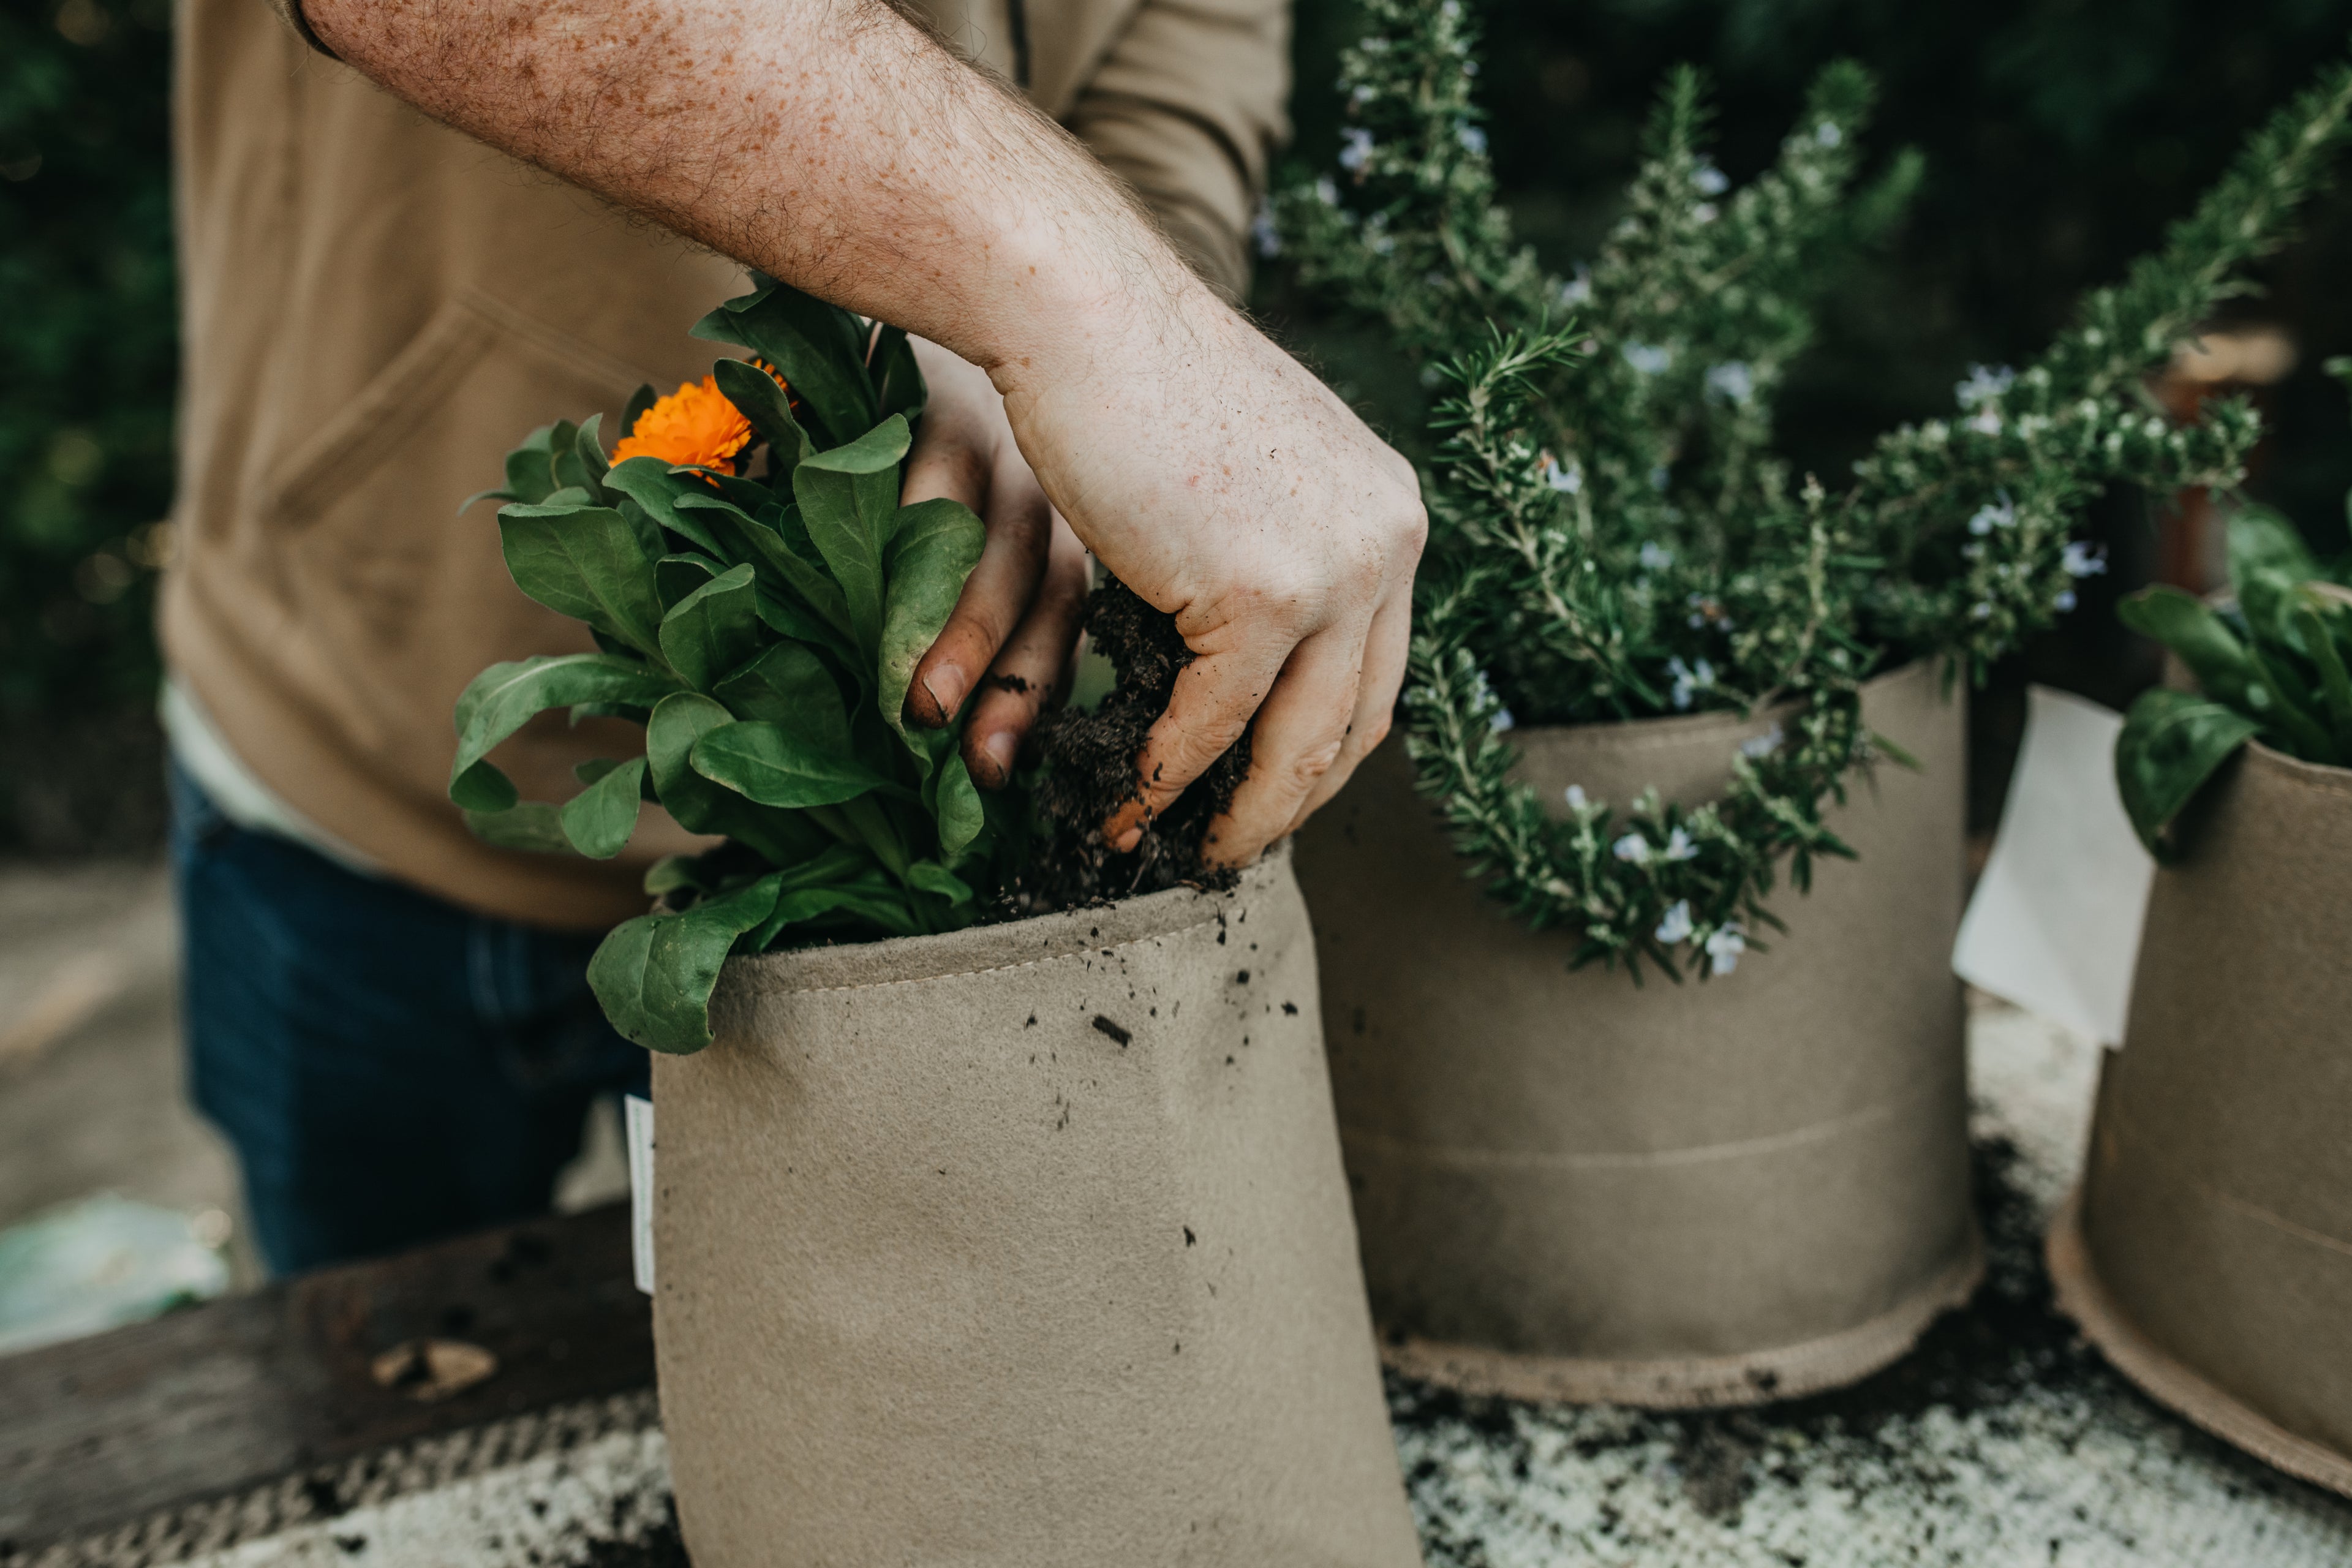
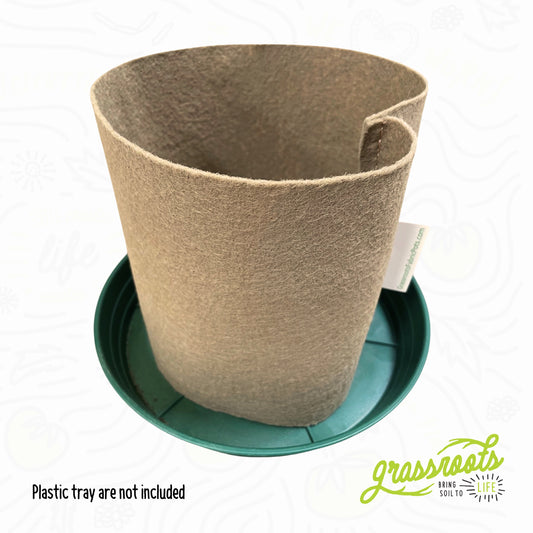
Bottomless Fabric Pot
Regular price $2.50 USDRegular price


Complete Raised Bed Kits
-
Complete Kit Living Soil Fabric Bed
Regular price From $95.00 USDRegular price -
Hobby Grow Living Soil Raised Bed
Regular price $85.00 USDRegular price -
Complete Kit Tray2Grow Bed (Autopot)
Regular price From $85.00 USDRegular price


Budget-Friendly Growing Options
-
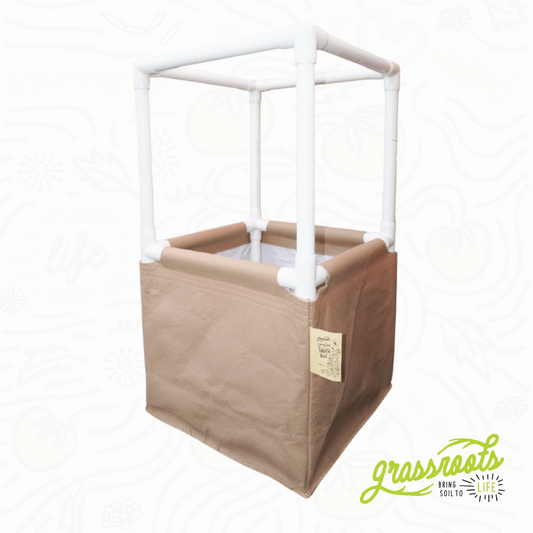
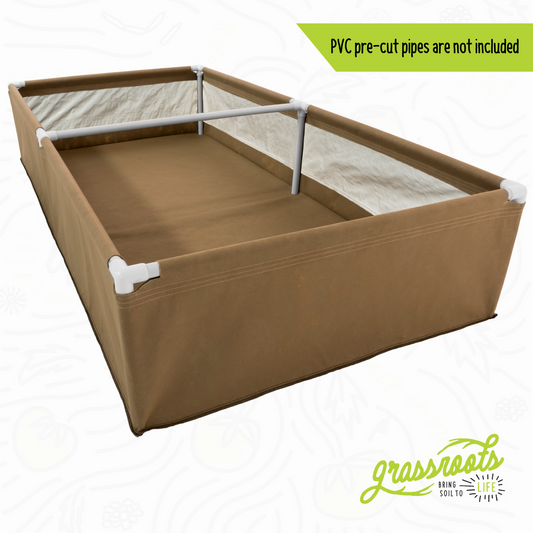
DIY Living Soil Fabric Bed
Regular price From $78.84 USDRegular price -
DIY Tray2Grow Bed (Autopot)
Regular price From $75.00 USDRegular price -
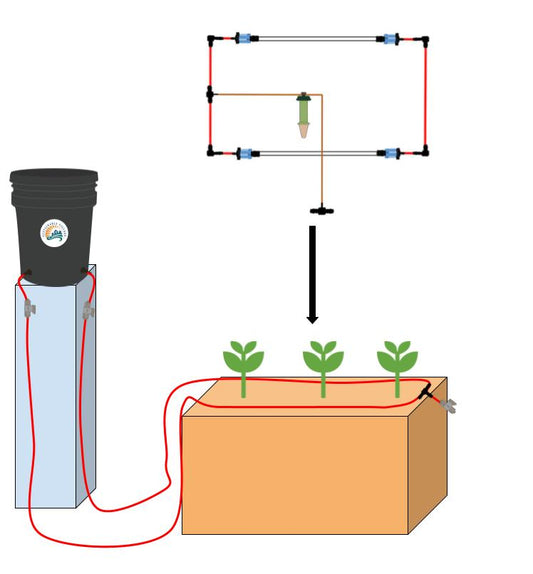
Blumat Ready, Set, Grow Kits
Regular price From $80.10 USDRegular price$0.00 USDSale price From $80.10 USD

Built for Real Farms